


")
As a busy, working Mom, I appreciate convenience. I will gladly pay more money for item B if it will be easier than item A.
So never in a million years did I ever expect myself to be making my family’s own bread.
But here I am, in the middle of the 2020 Quarantine, elbows deep in flour.
Before all this, I’d made bread a handful of times in my life, out of fun and curiosity. I don’t have a bread machine, so the bread I make is kneaded and mixed by hand. Sometimes the loaves turned out okay, while other times they went straight to the trash.
About one week into the quarantine, I found myself needing groceries again. To my surprise, the bread shelves everywhere were empty, except for that occasional lonely looking raisin bread.
Thankfully my own pantry was well-stocked with flour and yeast packets. I used the old, basic bread recipe I’d used in the past, but changed it here and there.
Over the past 10ish weeks (let’s be honest, we’ve all lost count on how many weeks we’ve been sheltering in place), I’ve tweaked the recipe again and again to the point I’m finally comfortable sharing it!
(Keep going to find the recipe)
Everything about the bread-making process surprises me. I’m surprised how amazing it tastes, how wonderful it smells, and how quickly the men in my life eat through a loaf. But most of all, I’m surprised at how much I genuinely like the baking process.
When I know I need to make more bread, I plan my entire day around it. Not because I have to anymore, but because I really do enjoy it. It’s become a source of self-care, a way to let out any built-up steam. If you’ve ever kneaded 15+ cups worth of dough, you know what I mean.
It’s also become a way of saying “I love you.”
My husband says “I love you” by helping with the kids when my hands are sticky with dough. I get to say “I love you” when I serve the bread with a meal. And my boys say “I love you” when they asked for seconds and thirds of bread with “special” (our title for the old classic of bread topped with butter and cinnamon).
On days when the laundry is still in the dryer, the floors didn’t get vacuumed, and school didn’t get done, that loaf of bread on my kitchen counter and on my boys’ plates says, “You’re doing okay, Mama.”
Give bread-making a chance. It’s a tangible product that can become a source of pride and accomplishment, and most importantly, a way to say “I love you.”

| Prep Time | 1 Hour |
| Cook Time | 35 Minutes |
| Passive Time | 1.5 to 2 Hours |
| Servings |
loaves
|
- Biggest mixing bowl you have
- 4 C warm water warm, like infant bath water warm
- 2 packets fast-rising (instant) yeast regular yeast will work too, just allow for longer rising times
- 1/2 C honey
- 1/2 C oil
- 1 C pineapple juice
- 1 1/2 Tbsp salt
- 11 C flour all-purpose, whole wheat, or a mixture of the two
- extra flour for kneading
- heavy, sturdy wooden spoon works best for stirring
Ingredients
|
|
- Pour 4 Cups warm water into your biggest mixing bowl. I simply turn the kitchen faucet to warmish water till it feels like the temperature you’d use for your baby’s bath.
- Sprinkle the 2 packets of instant yeast on top of the water. Add ½ Cup honey and lightly stir just to combine.
- Let mixture sit for 3 to 5 minutes. After that time, the top of the mixture in the bowl should go from being wet and dull looking to being a brighter, bubbly substance. ***If you don’t have a few bubbles forming at this point, you either used water that was too hot (killed the yeast), used water that was too cold (not warm enough to activate the yeast), or your yeast packets might just be too old (did you buy it this year, or the year you got married lol).
- Add in ½ Cup oil. (I have used vegetable oil, grapeseed oil, and even olive oil before. All seem to do just fine.) Add in 1 ½ (ish) Tbsp salt. Add in 1 Cup of the Pineapple juice.
- Stir to combine. Let mixture sit for two minutes.
- 9. Add in 5 Cups whole wheat flour. (Again, if you only have all-purpose, this recipe can be used with just one type of flour. I just personally go half and half.) Stir mixture for 3 minutes.
- Add in the rest of your flour (for me, it’s usually unbleached all-purpose) 1 Cup at a time, stirring after each addition, till you’ve added 6 more Cups. (In total, you will have now added 11 Cups of flour to your mixture).
- Spread some extra flour out on a clean counter top to prep for kneading. Put the dough out on to that surface and knead for a good 8 minutes. ***You might find that you need to add more flour to the dough as you are kneading. The dough shouldn’t be sticky. It should feel kind of velvety-soft by the time you are done, and easily form into a ball.
- Stick the big velvety-soft ball of dough back into your big mixing bowl. Cover with Press ‘n Seal wrap or a heavy (clean) kitchen towel. Leave it alone (and in a place that the kids can’t get to it) for 30 minutes. Place should be warm but not hot. Pre-heat your oven to 350 degrees.
- After rising for 30 minutes, your dough should have (at least) doubled in size. Divide the dough into 4 equal parts. I find that a big kitchen knife works well for this. Gently form the 4 parts into 4 loaves and stick in bread pans (I don’t have 4 bread pans, so I’ve used small casserole dishes in the past. The bread doesn’t turn out as pretty, but it’s just a tasty).
- Cover them again with the Press ‘n Seal or towel and let them rise again for 10 minutes. Then take off the coverings and let them continue to rise till they are about an inch above the pan.
- Brush tops of loaves with a little butter (optional), and bake at 350 degrees for 35 minutes.
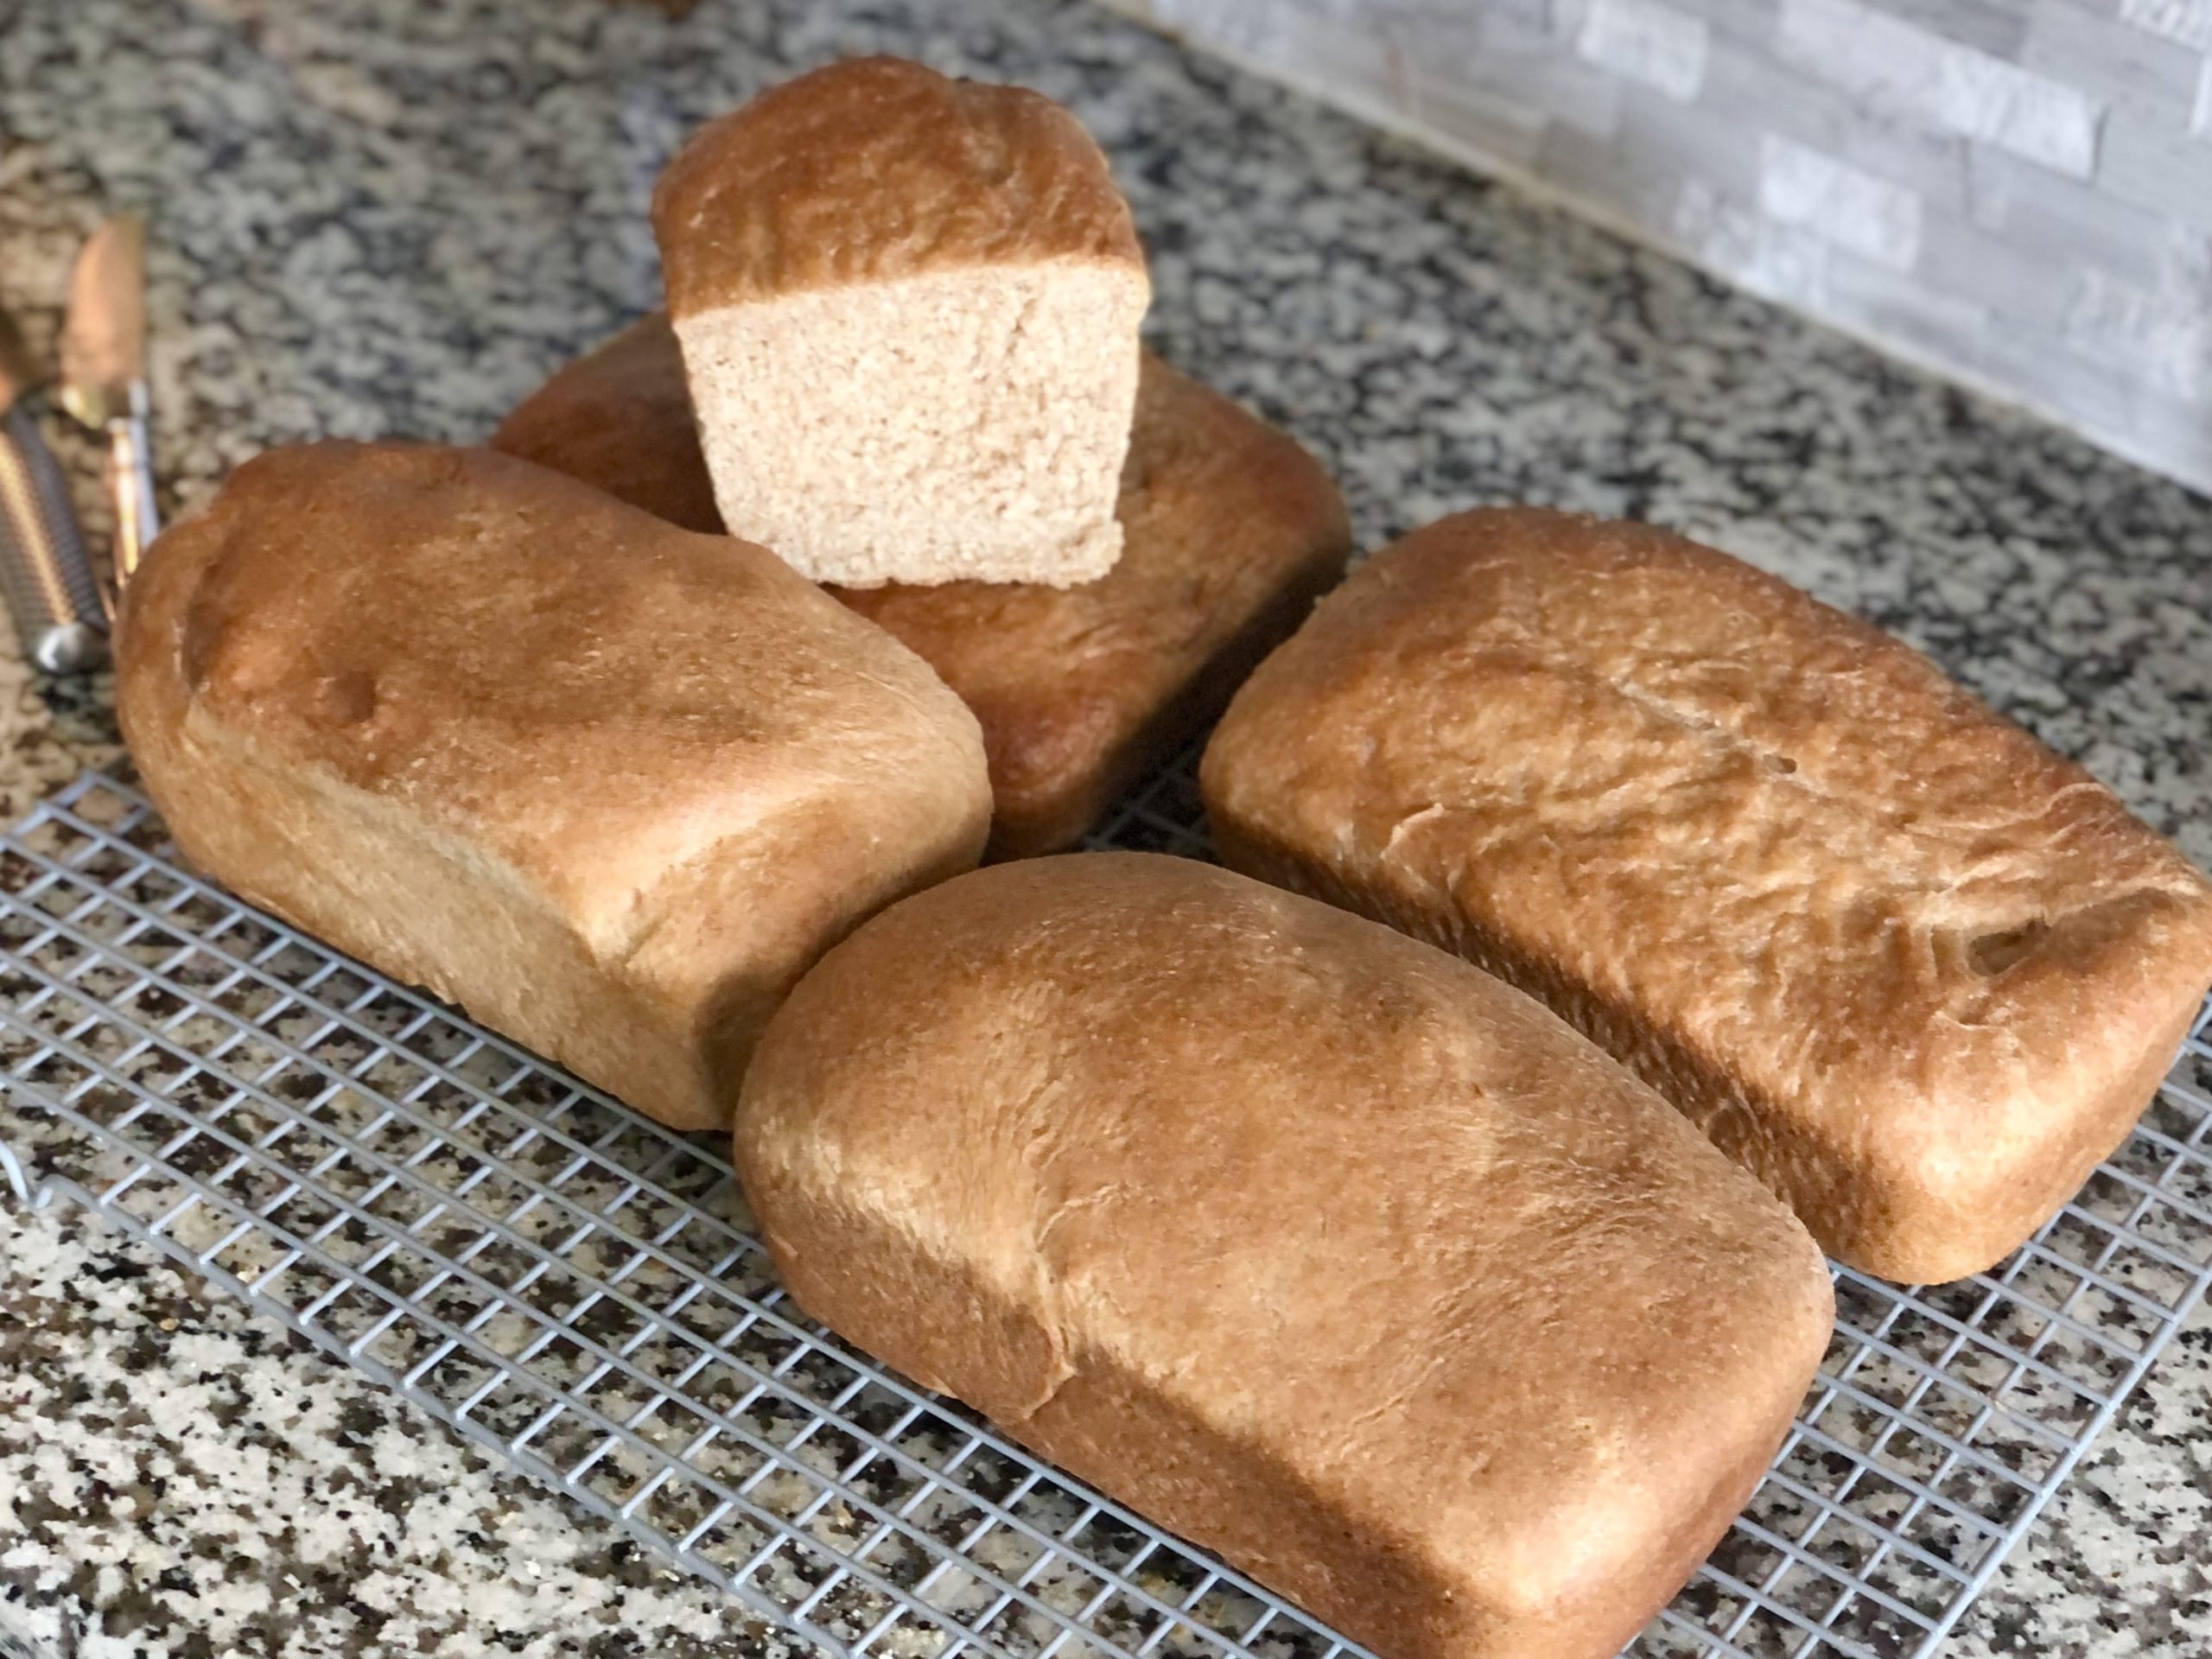
- Pull them out, brush tops with butter again (optional). Cut a slice while it’s nice and warm and enjoy!!
This recipe makes 4 loaves. I suggest wrapping up 3 of the loaves (once cooled) in the Press ‘n Seal wrap or other air tight container and storing them in your freezer, while leaving 1 loaf out to use immediately.
[recipe][recipe]